Dusting off the Array! (Part 8)

What now?

Well, forget Part 7 (fortunately). The SSD-Raid is working fine! It always assembled itself after several reboots. That’s good news, I guess!

In the meanwhile I fucked up again. I ordered an external USB-casing without a disk recently. While trying to get it up and running, I accidentally disconnected the USB-thingy connected to my external drives from power. Since then the kernel complains about the 2.5″ USB drive without power supply, but I got it up and running again.

Right now I’m copying all data from that drive to a member of the failed HGST-Array. Hopefully it’s not the failed drive, but we’ll see…

Creating a physical volume with pvcreate didn’t work out of the box. The command bailed out saying that it couldn’t open the device exclusively. At first I thought that it was because of the pre-existing PV-Signature, so I zeroed out the first GB, but that didn’t help, either.  Check-MK came to help, telling me that md127 was in a degraded state.

Of course! The drive contained a RAID-Superblock, so the kernel tried to start the the RAID, but couldn’t. Nevertheless, that kept the drive busy. Stopping it with

# mdadm -S /dev/md127

should have helped, I guess…

Anyway, wrote 1.1TB to the drive without errors. So, chances are that it isn’t the defective drive.

Dusting off the Array! (Part 7)

What happened

Oh my, I really hope this is the final chapter of this fucking story… On Feb. 20th, 2018, one of the HGST disks failed (what a surprise!). Since the serial number reported by hdparm bears absolutely no resemblance to the serial number printed on the label of the disk (thanks a bunch HGST, BTW), I pulled the wrong disk, inserted the spare, started the rebuild and… Lo and behold! The failing disk still failed! My attempts to recover the RAID destroyed it completely.

It was already kaputt when I thought of a way to identify the failing disk’s slot:

# badblocks <reported device by kernel>

This should light up the LED permanently on the external SATA casing.

I was so fed up that I ordered 4 2TB SSD-Disks shortly after that. Yesterday (Mar. 2nd, 2018) I finally had time to install them. Of course this setup has its quirks, too, but at least I can identify the disks via hdparm. The serial reported is actually the serial on the label:

HDD1: SerialNo 1744197E67EE
HDD2: SerialNo 1744197E7B92
HDD3: SerialNo 1744197E7104
HDD4: SerialNo 1744197E836D

The Quirks

Of course it didn’t just work out of the box™. When I booted with the shiny, new SSD disks, hadante got stuck at the BIOS splash screen while HDD3 was throwing a shining, red light. I pulled HDD3 and HDD4, rebooted and got a login prompt. Since SATA is hot-pluggable, I inserted HDD3 and 4. Fortunately, they showed up on the SCSI-Bus (cries of joy!).

I created a RAID5 with:

# mdadm --create /dev/md1 --level=5 --raid-devices=4 /dev/sd[efgh]

and waited until today (Mar. 3rd, 2018) for the rebuild to finish. After that I tested the setup:

  • Power off hadante
  • Turn off the external casing
  • Wait about 30 seconds
  • Turn on the external casing and then hadante
  • Wait eagerly…

… and watch the kernel error messages scrolling down the screen 🙁

The solution

Note the (not really) failing drive by staring at the LEDs of the external casing. Power off hadante and pull the failing drive and any other non-failing drive! It’s important to pull 2 drives, so the kernel cannot assemble the RAID! Then reboot and stop failing the RAID:

# mdadm -S /dev/md?

Now hot-plug the missing drives, reboot again and be amazed how everything magically works again 🙂

From my observations the drives in the external bay are recognized until you cut the power, but that’s just a guess.

Dusting off the Array! (Part 6)

Well, well, well! Here we are again. What shall I say? The plan worked almost as expected. As it turned out it was enough to use the spare HGST 4TB drive and a spare USB 3.0 2TB drive joined in a volume group to copy the remaining data.

The RAID resync was interrupted because a 2nd drive was failing (of course a SEAGATE 3TB). The failing sectors were mostly on the obnam LV, so not a big problem regarding the data, but unfortunately there’s no way to skip that LV or the files, because RAID is at the lowest level and only knows about sectors.

So I completely rebuilt the raid with the 1 remaining free HGST drive and the 3 new ones, everything fly by wire. With 4 working drives the rebuild went ahead with about 33MB/sec, as it should. After 2 days the rebuild and copying the data back was finally done. I lost my obnam backup and a few pics and movies from “movs”, but that’s about it. So I guess one could say that I got away with a slap on the wrist!

In the meantime I’ve had it with the EasyRAID SATA enclosure. There were 2 major drawbacks:

  1. It shuts down when idle, with a timeout too short to survive a reboot. Very nasty!
  2. Even if it’s turned on during POST, sometimes not all drives spun up in time or at all, so it always took several attempts to re-assemble the raid. Dunno if it is because of old age or if it’s a design flaw.

So I looked for another solution and went for an ORINOCO 4Bay USB3.0 and eSATA hard disk docking station. It’s hot-pluggable and has all the bells and whistles. From what I can tell for now, it was a good choice. It has an on/off button, but no timeout, so no more boots without the Array. Yay!

At first it didn’t seem to work at all, but only because I connected the wrong eSATA cable (that one which was dangling free behind hadante). Stupid me! Once I connected the right cable, everything went smoothly.

One more thing: The serial number reported by smartctl is not printed anywhere on the drive label 🙁 Fortunately I found the spare drive on the first attempt! Such things don’t happen often…

And now: This is how it looks like after cleaning up:

Neat, isn’t it? It’s a bit louder without a closed casing, but that’s not necessarily a bad thing ™.

Dusting off the Array! (Part 5)

OK, new plan! After several reboots the array resyncs with about 120 MB/s, but it stops with “recovery interrupted” at about 40%. I have no idea how to fix this, so I’m gonna rebuild the array from scratch.

I ordered 3 new HGST 4 TB drives, hopefully delivered by tomorrow (2017/08/09). The Plan:

  1. Build a striped LVM device over 2 new drives. That should be enough to save all data.
  2. Rsync everything to the LVM device
  3. Replace the failing Seagate drive and rebuild the Array from scratch
  4. Rsync the data back to the RAID array and maybe replace the last remaining Seagate drive


Dusting off the Array! (Part 4)

Well, well, here we are again! Another fight with the rotating drives. If 2TB SSD’s weren’t so expensive (2017/07/30 => ~550 €), I would have replaced all of them by now!

Yesterday (2017/07/29) the oldest drive failed hard, no way to get it working, so I replaced it with a 4GB HGST drive. Should be easy, right? But it isn’t. Had to rip the intestines out:

Had to connect all drives to the internal SATA-Connectors so the board would recognize them. In the external casing it was come and go 🙁

After disabling NCQ by adding libata.force=noncq to the kernel command line I got up to whopping 6000K/sec resync speed! It’s not the kernel. Tried 4.9, 4.11 and 4.12, all the same. The problem is this drive, because it’s failing, too, I guess:

Model Family:     Seagate Barracuda 7200.14 (AF)                                                                     
Device Model:     ST3000DM001-1CH166 
Serial Number:    Z1F58T6T 
LU WWN Device Id: 5 000c50 06725c7df 
Firmware Version: CC27 
User Capacity:    3,000,592,982,016 bytes [3.00 TB] 
Sector Sizes:     512 bytes logical, 4096 bytes physical 
Rotation Rate:    7200 rpm 
Form Factor:      3.5 inches 
Device is:        In smartctl database [for details use: -P show] 
ATA Version is:   ACS-2, ACS-3 T13/2161-D revision 3b 
SATA Version is:  SATA 3.1, 6.0 Gb/s (current: 6.0 Gb/s) 
Local Time is:    Mon Jul 31 01:05:03 2017 CEST 
SMART support is: Available - device has SMART capability. 
SMART support is: Enabled

Of course hadante crashed hard once already, but I do hope that the resync will be done once I’m back from Wacken. About 5 days (7500 minutes) remaining without crash.

Tried to update the drive’s firmware, but that was quite a hassle, too. Had to use chntpwd on othalla to log in and make a bootable USB drive with the latest SeaTools. All for nothing, though 🙁

Dusting off the Array! (Part 3)

And the story continues… The spare drive I bought on 2016/06/27 was defective as well. As it turned out, it wasn’t even new! The Seagate Warranty Check said: “Out of Warranty” 🙁

Z1F142XH-2

I contacted Amazon and they immediately forwarded my request to the retailer (2016/09/03 4:44pm). Let’s what happens…

I ordered a new drive on 2016/08/27 6:50pm, this time a Hitachi 4TB drive (HGST 0S03665 4TB Deskstar), but I made a mistake: I chose a Packstation as delivery address, even though I don’t have an account (yet), so the parcel was returned to sender (Amazon). At first I couldn’t make sense of the delivery status: Amazon said that the parcel was successfully delivered, but DHL said that it had been returned to sender. A short phone call cleared things up: The drive was indeed returned and I received a credit note (2016/09/02 about 1:40pm).

Later that day I ordered another Hitachi 4TB drive with the same retailer which arrived early next day (2016/09/03 about 9:00am). Unfortunately there wasn’t much time to waste: I had to fail the spare drive hard, because it hung the SATA bus during rebuild:

# mdadm --manage /dev/md1 --fail /dev/sdi

At first I thought that munin -> smartctl -a caused the hangs, but disabling it didn’t help.

While replacing the failed drive I burnt my fingers from the heat, so I set the fan to maximum when I turned Hadante on again. Rebuild is 42% done, still 11 hours to go  as of 2016/09/03 5:25pm. No issues yet, keeping my fingers crossed 🙂

Anyway, this is a photo of the anti-static bag the Hitachi drive came in (SN: P4HU95KB):

P4HU95KB

(Update 2016/09/04 06:56AM): Yeah! The rebuild is done! Hopefully safe again! The obnam LV shut down due to xfs errors, but that’s something I can live with. Maybe it’s the aftermath for force-assembling the array…

Part 1
Part 2
Part 4

Dusting off the Array! (Part 2)

Craptastic^2! Another drive failed as of Thursday morning during backup (2016/08/25). The box hung hard, the SATA bus was completely b0rked, so the process list was filling up with defunct smartctl commands, driving the load towards 100…

OK, no problem, one hard reset later the array was rebuilding. So far, so good, but during the next backup the array failed again, which was kinda expected. In hindsight I should have disabled the job, though. Anyway, Friday morning the box was locked up hard again. Poweroff hung at unmounting the array, no progress at all, so I just turned it off.

Friday afternoon I replaced the failed disk, booted up and was in deep shit! mdadm told me that it cannot start a dirty degraded array. FUCK! There goes my data, I thought… But Google came to rescue!

Fortunately mdadm allows you to force-assemble a dirty, degraded array with:

# mdadm --assemble --force /dev/md1 /dev/sd[ghj] missing

Or so I thought. That command exited with an I/O-Error, because the drives were for busy for some reason.

# cat /sys/block/md1/md/array_state  
inactive

As turned out, inactive is kinda still active. You have to stop the array first to get it working again:

# mdadm -S /dev/md1

Only then it can be force-assembled with the aforementioned command. Once it’s up and running (degraded), add the new disk:

# mdadm --manage --add /dev/md1 /dev/sdi

Now it should be rebuilding. Cross your fingers and pray to whatever god you worship 🙂 Of course the array was shut down Saturday morning, because I still didn’t disable the backup job, but this time it shut down cleanly. One reboot later the rebuild continued…

I guess I was very, very, very lucky: As far as I can tell there was mostly read access up to the 2nd failure (backup). The file systems (all XFS) mounted after recovering from the transaction logs, and the data seems to be OK, but I’ll see…

Lessons learned

  • Always shut down the array cleanly at the first sign of trouble! Don’t wait until the drive fails completely!
  • Don’t think that the failing drive will recover during rebuild. It won’t! It’ll only make things worse.
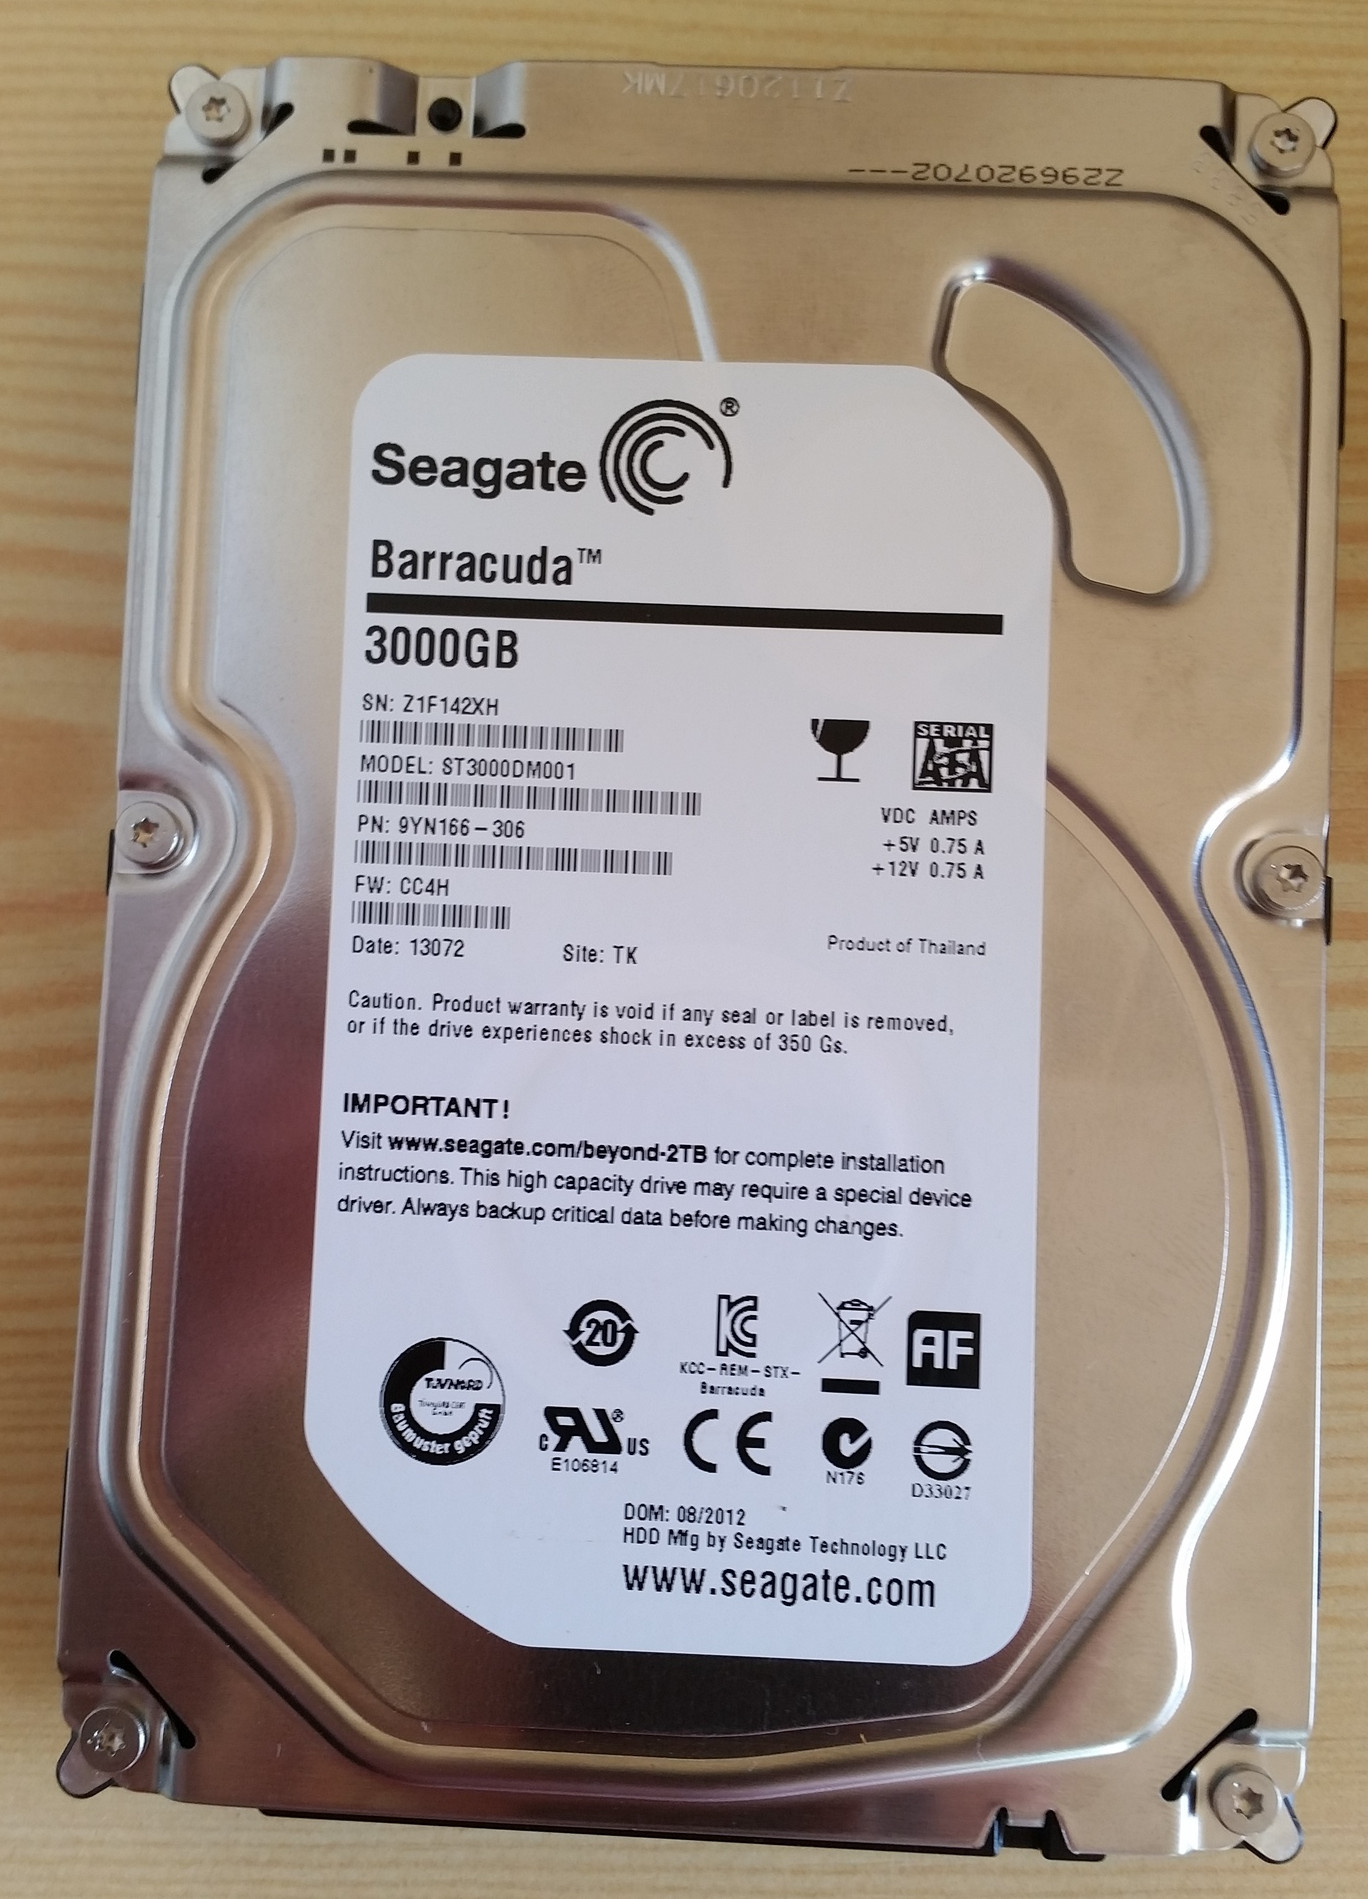
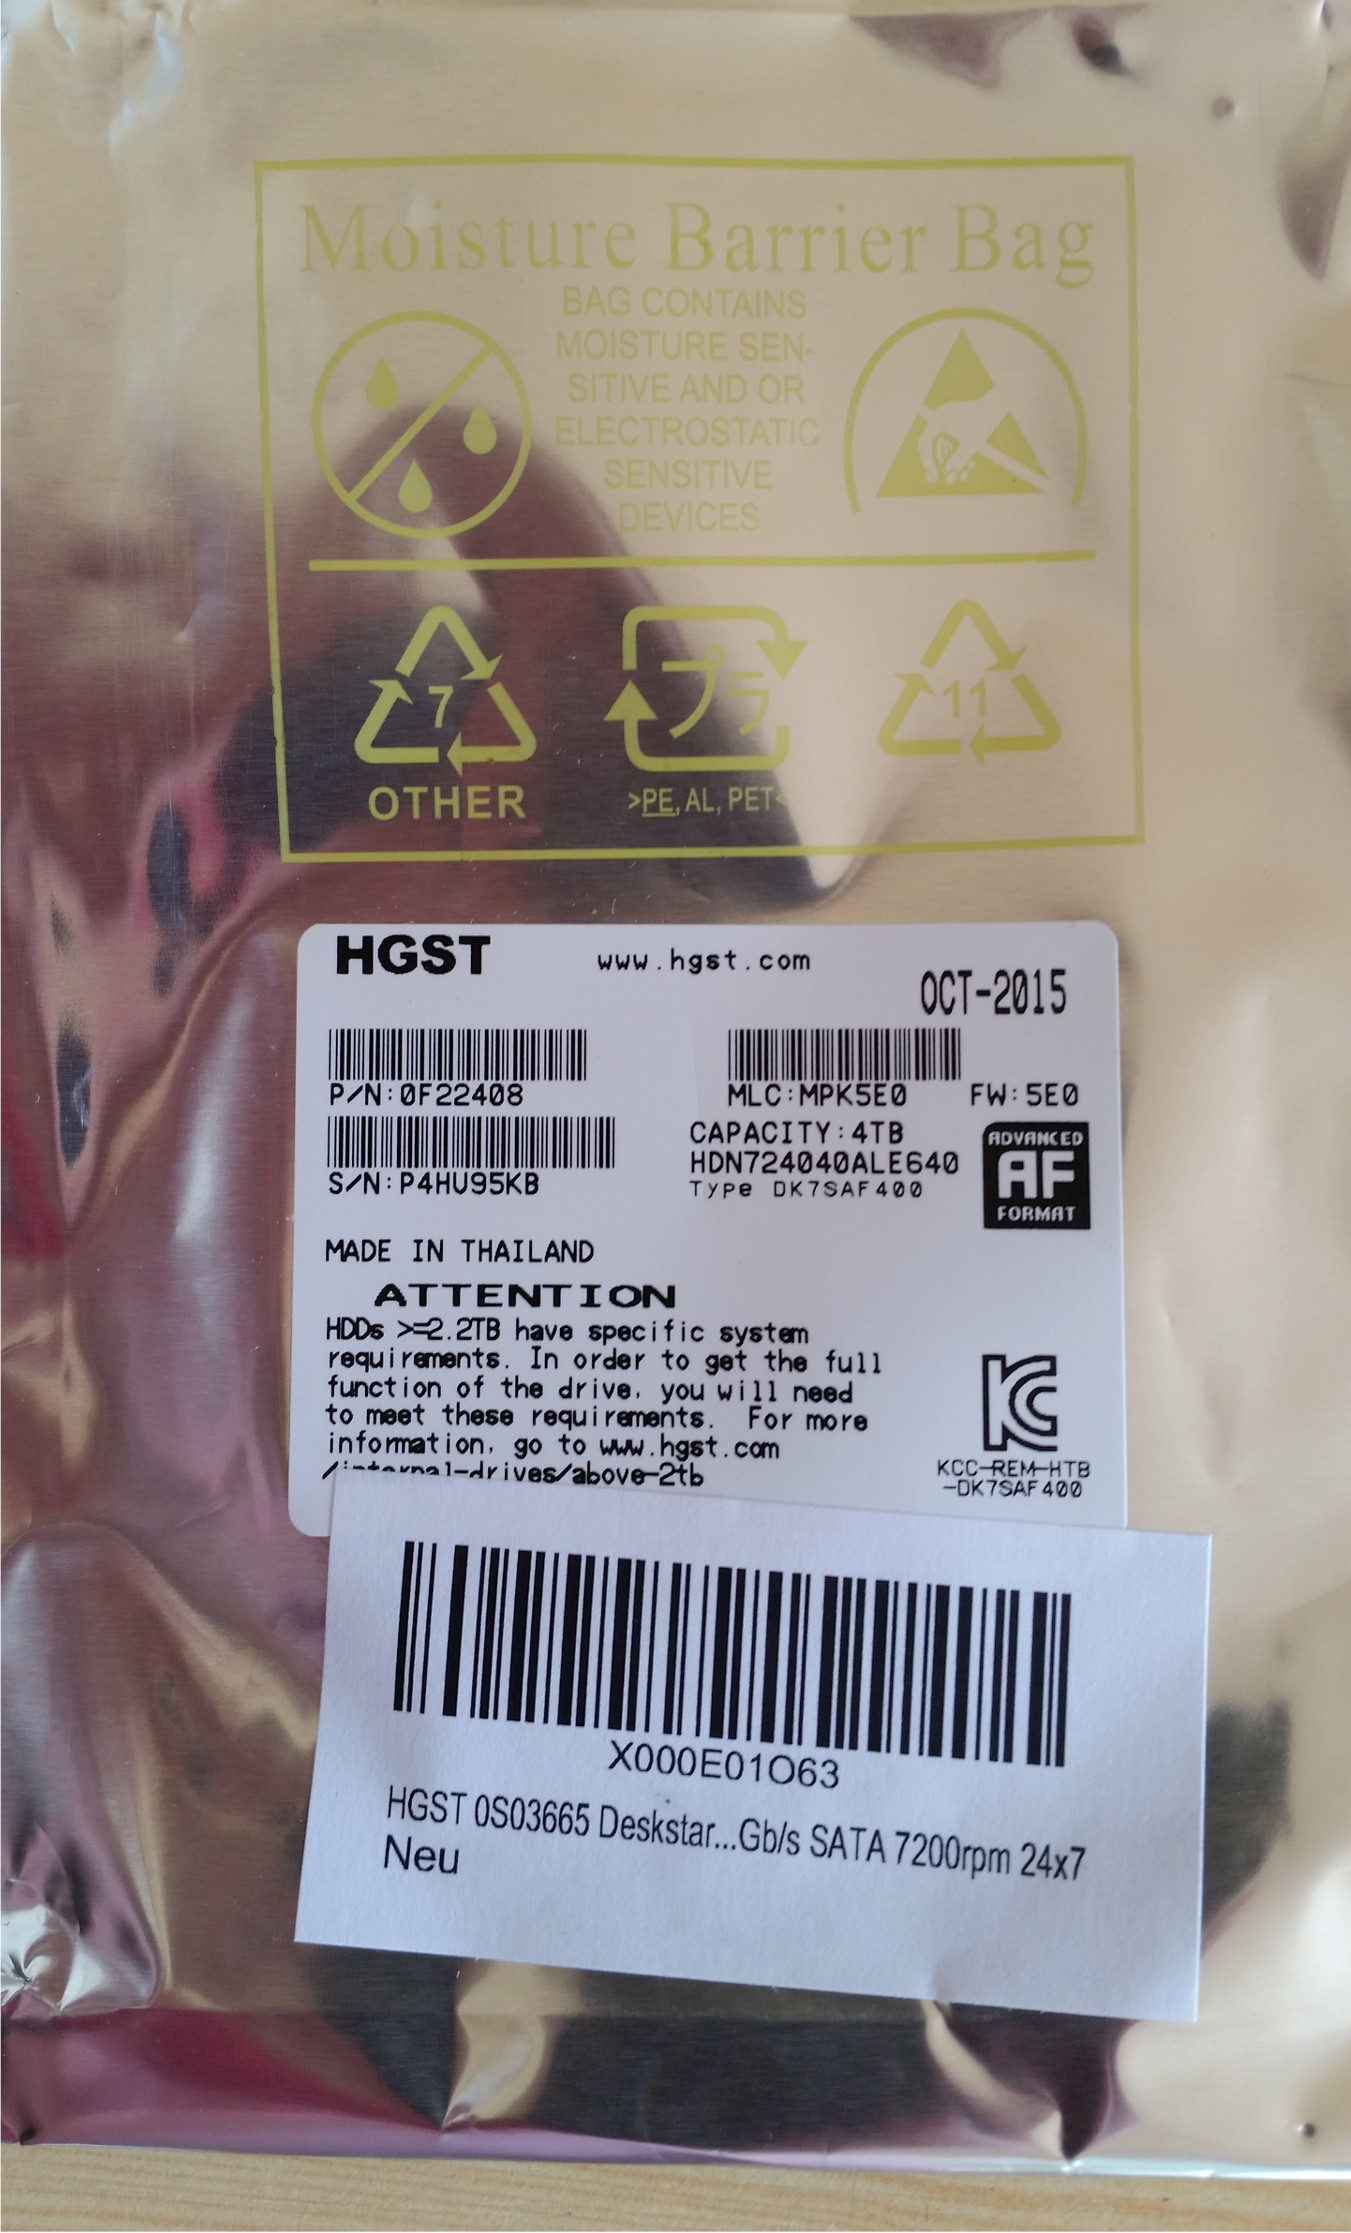
  • SEAGATE Barracuda drives, esp. ST3000DM001, are, to put it mildly, crap! I didn’t keep track of the history, but I think I replaced each of them at least once. So I ordered a  HGST 0S03665 Deskstar NAS 4TB 6Gb/s SATA as replacement instead of the cheaper (and smaller) SEAGATE drive. Let’s see how that turns out…
  • An inactive array can still be busy, e.g. active and has to be stopped before you can force anything…
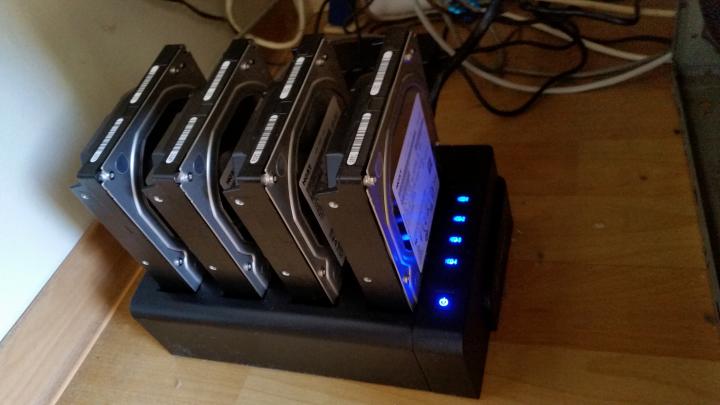
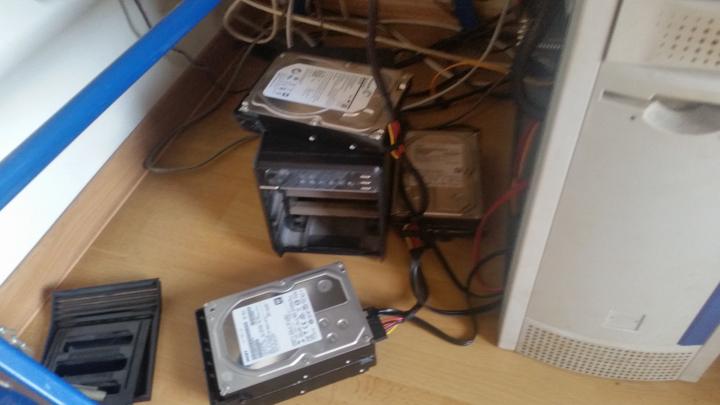
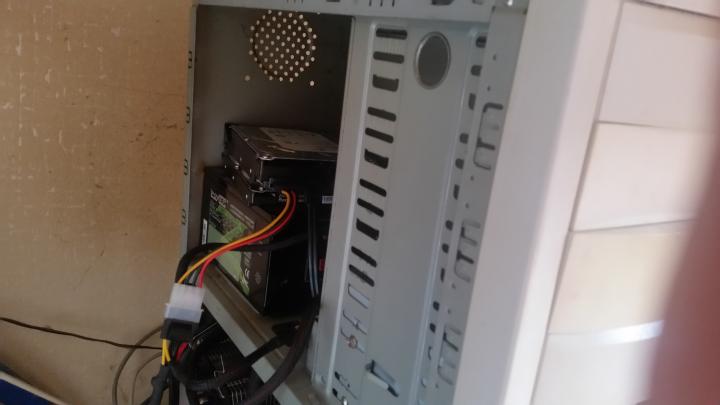
  • Keep an up-to-date list of drives, their serials and position in the external SATA casing, so you don’t have to guess which drive failed!

Update (2016/08/27 5:23pm): Fuck SEAGATE! Once again a supposedly new drive almost failed me! At 99.9% rebuild the array shut down and I had to reboot, due to:

Aug 27 16:43:50 hadante kernel: ata5.02: exception Emask 0x100 SAct 0x7fffbfff SErr 0x0 action 0x6 frozen 
Aug 27 16:43:50 hadante kernel: ata5.02: failed command: WRITE FPDMA QUEUED 
Aug 27 16:43:50 hadante kernel: ata5.02: cmd 61/40:00:a0:9b:71/05:00:5c:01:00/40 tag 0 ncq 688128 out 
                                         res 40/00:ff:00:00:00/00:00:00:00:00/40 Emask 0x4 (timeout) 
Aug 27 16:43:50 hadante kernel: ata5.02: status: { DRDY }

After the reboot, the array rebuilt successfully, though. I’ll replace the failing (new) drive with the HITACHI when it arrives, and if that works, I’ll replace all drives, I think…

Part 1
Part 3
Part 4

Dusting off the Array!

Craptastic. Today (2016/06/26) another disc of my archive RAID5 failed (rotating,  SEAGATE ST3000DM001, Serial W1F245R4, out of warranty of course). When I opened the casing, I knew why. The drives were so hot (literally) that I almost burnt my fingers!

Note to Self: Vacuum the thing once in a while. I seriously doubt that any air was flowing at all! Let’s hope that it’ll survive the resync. Only 18 hours to go, Yay!

For the record: Hot-adding a disc to the array:

# mdadm --manage --add /dev/md[x] /dev/sd[y]

Update (2016/06/27 9:15am): I guess I almost lost the array. The rebuild was progressing fine at 93% (about 6:00am) when one of the drives started to make clicking sounds. At first I tried to sit it out, but eventually I shut down the computer and let the drives cool off. That was a very wise decision. 2 and a half hours later the rebuild is continuing with nominal speed and without clicking sounds.

Fortunately, the Linux kernel leaned to continue a RAID rebuild some time ago if it’s shut down cleanly, so it didn’t start from scratch.

Nevertheless, I ordered another spare drive. Seagate discs used to be much more reliable 🙁

Update (2016/06/27 9:50am): Had to shut it down again. One drive started acting up again. After a shower and a shave I fired it up again, this time with the front panel removed, so the air can circulate. Well, only 36 minutes to go, 98.1% done! Tomorrow 2 new drives will be delivered.

Update (2016/06/27 10:45am): Wow, this has to be a very bad joke, and a blessing in disguise. The rebuild didn’t finish, but fortunately the failed drive is the one I just replaced! The array is still there, so I’m crossing my fingers that the remaining discs survive until DHL rings my doorbell tomorrow!

Update (2016/06/29 10:30am): YES! The new drive is good, rebuild is done. Unfortunately failed new drive from the 27th is out of warranty 🙁 Who would have guessed…

Well, well, well… The story continues!

Part 2
Part 3